Upgrading from Windows 10 to Windows 11 is an exciting move, bringing a fresh, modern interface along with enhanced features and improved performance. This step-by-step guide will help you do it smoothly and safely.
What You Need to Know Before Installing
Before jumping into the installation process, it is crucial to ensure your PC meets the minimum system requirements for Windows 11.
How to Install Windows 11 on Windows 10
Step 1: Backup Your Important Files
Step 2: Check for Windows Updates
Ensure your current Windows 10 installation is completely up-to-date. This can prevent compatibility issues during the upgrade.
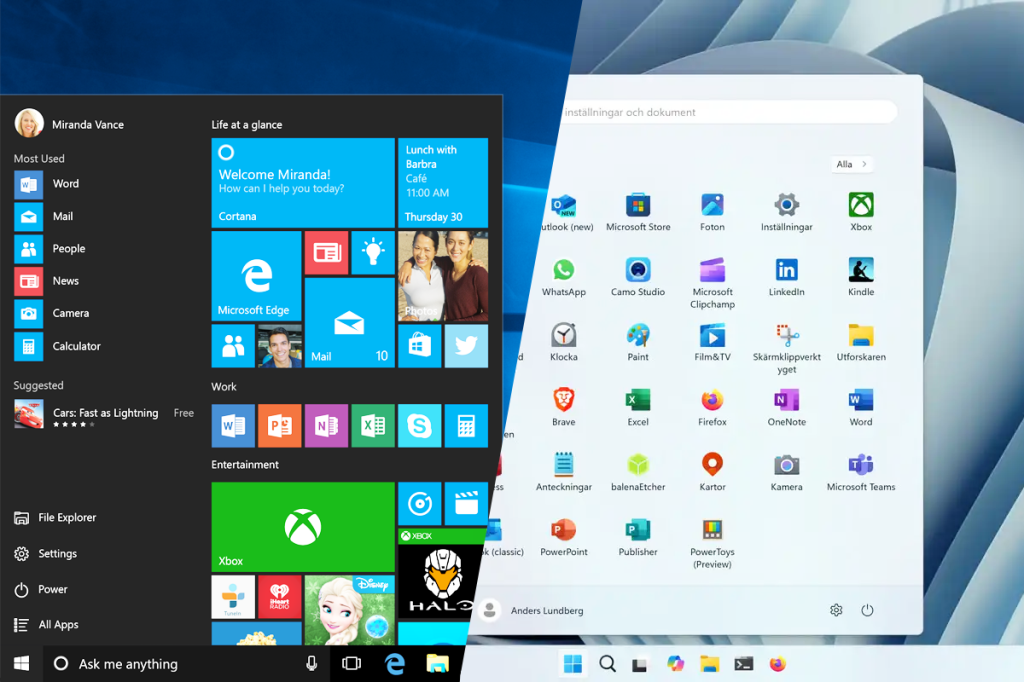
Go to Settings > Update & Security > Windows Update
Click Check for updates and install all available updates before proceeding.
Step 3: Use the Windows 11 Installation Assistant
Microsoft provides an official tool that makes the upgrade process straightforward:
- Visit the official Windows 11 download page.
- Download the Windows 11 Installation Assistant.
- Run the downloaded tool and follow the on-screen instructions. The assistant will verify compatibility and begin the download.
Step 4: The Upgrade Process
Once the installation begins, your computer will handle most of the work:
- Follow the prompts to accept the license terms.
- Choose whether to keep your files and apps or perform a clean install. Keeping them is recommended for a simple upgrade.
- The process will now begin, and your PC may restart several times. Do not turn off your computer during this phase.
Tips for a Smooth Upgrade
- Ensure your PC is plugged into a power source throughout the installation.
- Temporarily disable your third-party antivirus software to avoid interference.
- A stable internet connection is required for downloading updates during the setup.
- If you encounter errors, Microsoft’s official support website is the best place for troubleshooting guides.
Conclusion
Installing Windows 11 on your Windows 10 PC is a simple process with the right tools and preparation. By following this guide, you can enjoy the new design and features of Windows 11 while ensuring your important data remains safe.
ok
ReplyDeleteoooo
Deletedone
ReplyDelete